INSTALLATION
- Uninstall any previous version of Click to File from (WIN+X) Control Panel > Uninstall a Program > Click to File > Uninstall
- Download the latest version of Click to File here: http://justclicktofile.com/ctfoutlook2015.exe
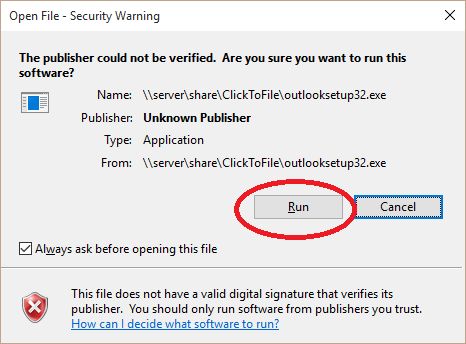
- Install by authorizing security prompts and accepting all defaults.
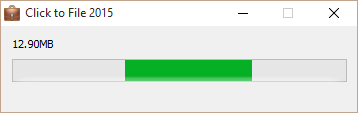
The initial download is about 60MB
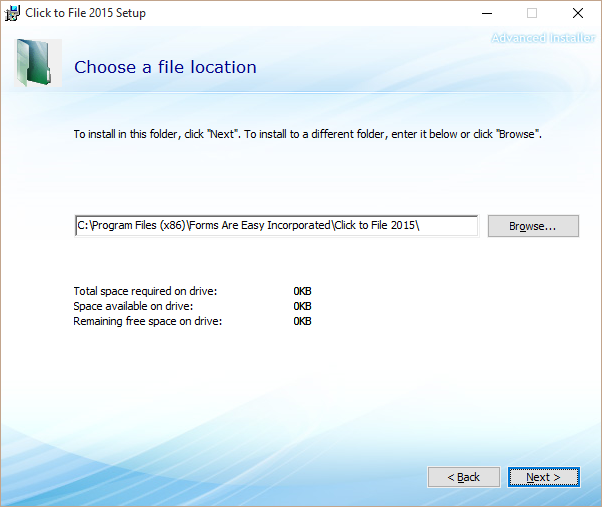
Accept the terms of the agreement and do not change the installation location
Once installation is complete, Open Outlook.
AUTOMATIC UPDATES
This latest version of Click to File includes the ability for it to automatically update when a new version is released. When this happens, you will see the following message as soon as you open Outlook. Choose “Yes” and close Outlook. A download window will be opened in your default web browser. Run the file from your downloads, following the installation instructions outlined in this post.

CONFIGURATION
- Open an existing email message from your inbox.
- Click the Click to File tab
- Choose Change Configuration
- Select the “License Management” tab at the bottom of the Settings window.
- Add your name and email and enter Serial Number (contained in email or ask Nick)
- Save License and click back into Configuration (if there is an error activating the license, just try again after a couple seconds)
- Choose North America and Authorize with Clio
- Log in to Clio and then choose “Yes, Let’s Connect”
1-3 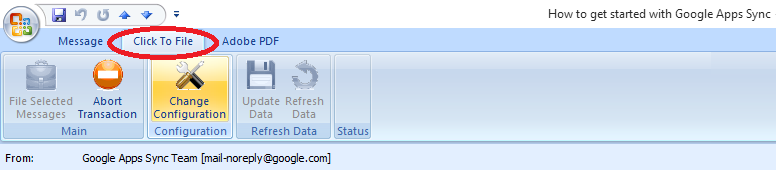
4-5 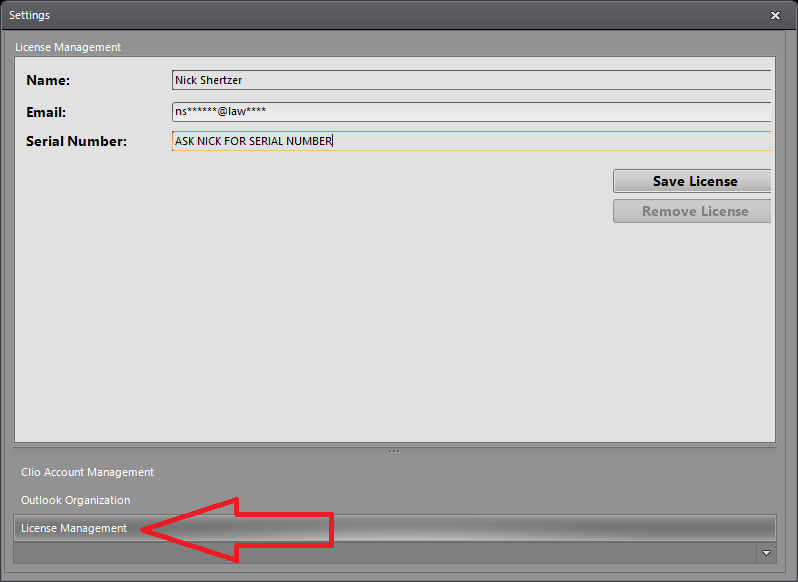
6-7 
8 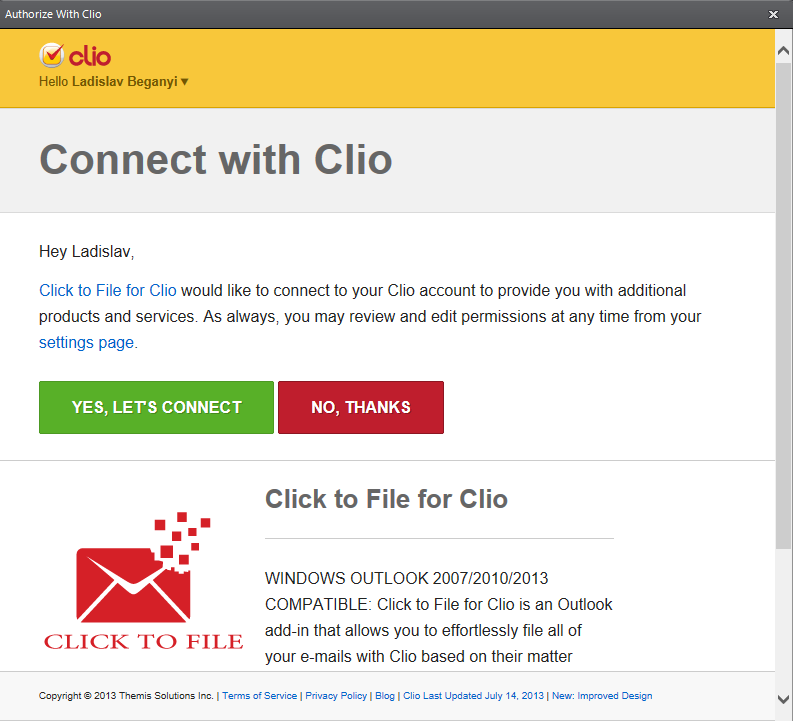
USING CLICK TO FILE
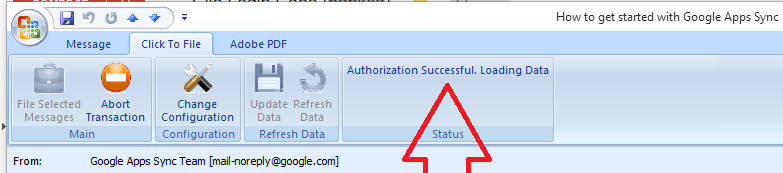
Once installed and authorized, you should see the status of “Authorization Successful, Loading Data”. NOTE: The initial loading of data can take up to 15-30 minutes. Once this initial loading is complete, you will be able to connect emails to Clio by clicking the “File Selected Messages” to Clio button.
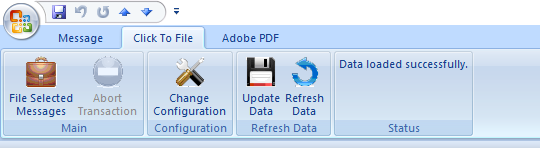
Once the data load is complete, you will see the other buttons light up and be clickable.
“File Selected Message” will open a searchable list of Matters to file the communication. If you are trying to select a brand new matter and it is not listed, come back to this screen and select UPDATE DATA. This will go out to the server and grab any newly created Matters and add them to your “File selected messages” list.
NOTE: Clicking “REFRESH DATA” will dump the local matter listing database and re-do an initial “Loading Data” that takes up to 15-30 minutes.
To file multiple emails, select them in your inbox by holding CTRL while clicking. Then hit CONTROL+S.
To file all messages located in a folder, select an email in that folder and hit CONTROL+Q
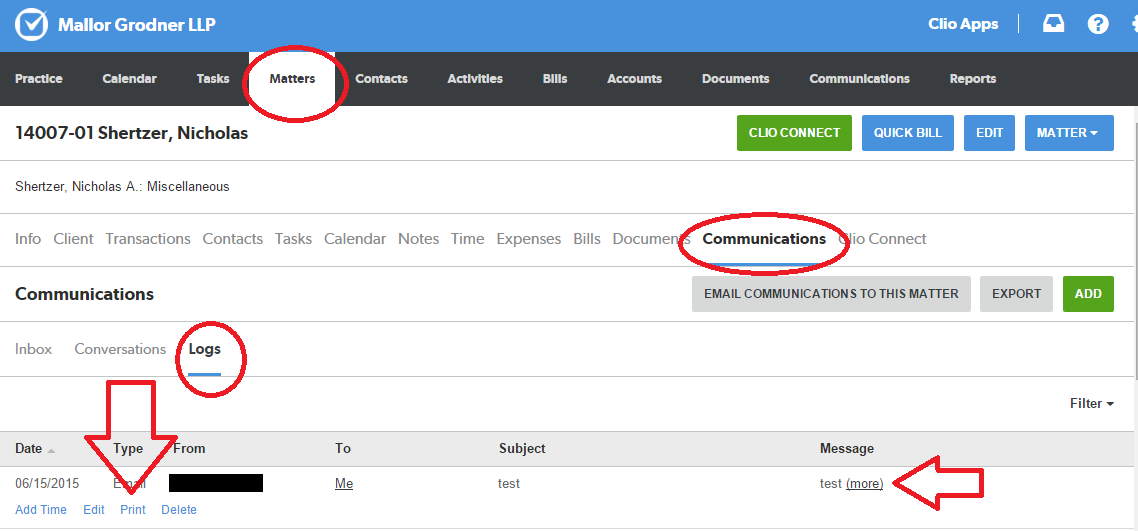
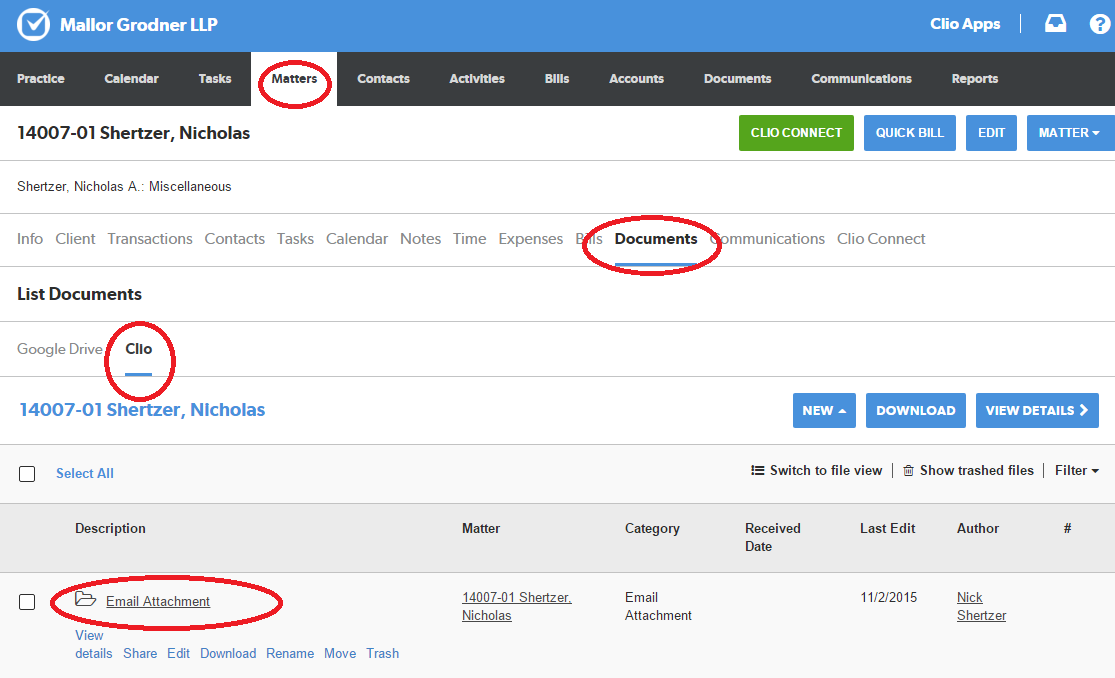
After connecting and email, it is always good practice to check Clio and make sure everything is correct. Emails filed to Clio are stored under the corresponding Matter > Communications > Logs. To view the body of the Email, click “More” under the message column (highlighted on the right). Email attachments are linked under the email message once expanded by clicking “(more)”. Email attachment files are stored in Clio under Matter > Documents > Clio
To Print the email, click the PRINT link found highlighted on the left. There is an option to “EXPORT” all emails in a matter as a CSV file. This file can then be printed using MS Excel.
Attachment example
For any other questions or concerns, please feel free to contact me.