
Here is how to add a custom Exhibit stamp to your PDF using Power PDF Advanced.
-
- Download Exhibit.jpg to your desktop. (Right click > Save link as)
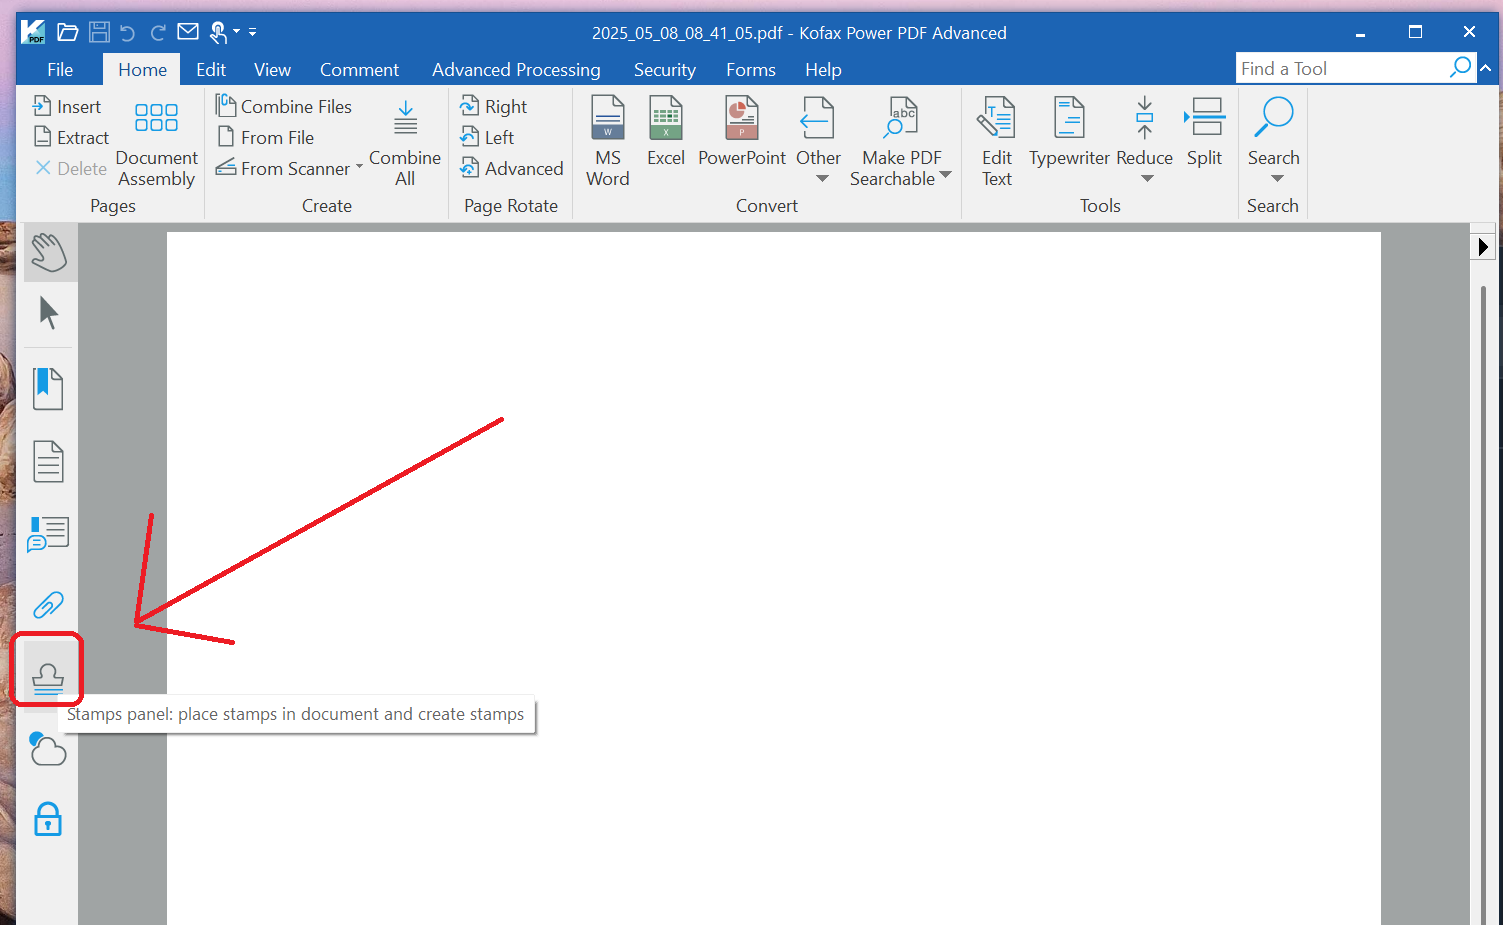
- Open any PDF in Power PDF Advanced
3. Open the Stamps side panel
4. Click on the Create icon and choose “Create”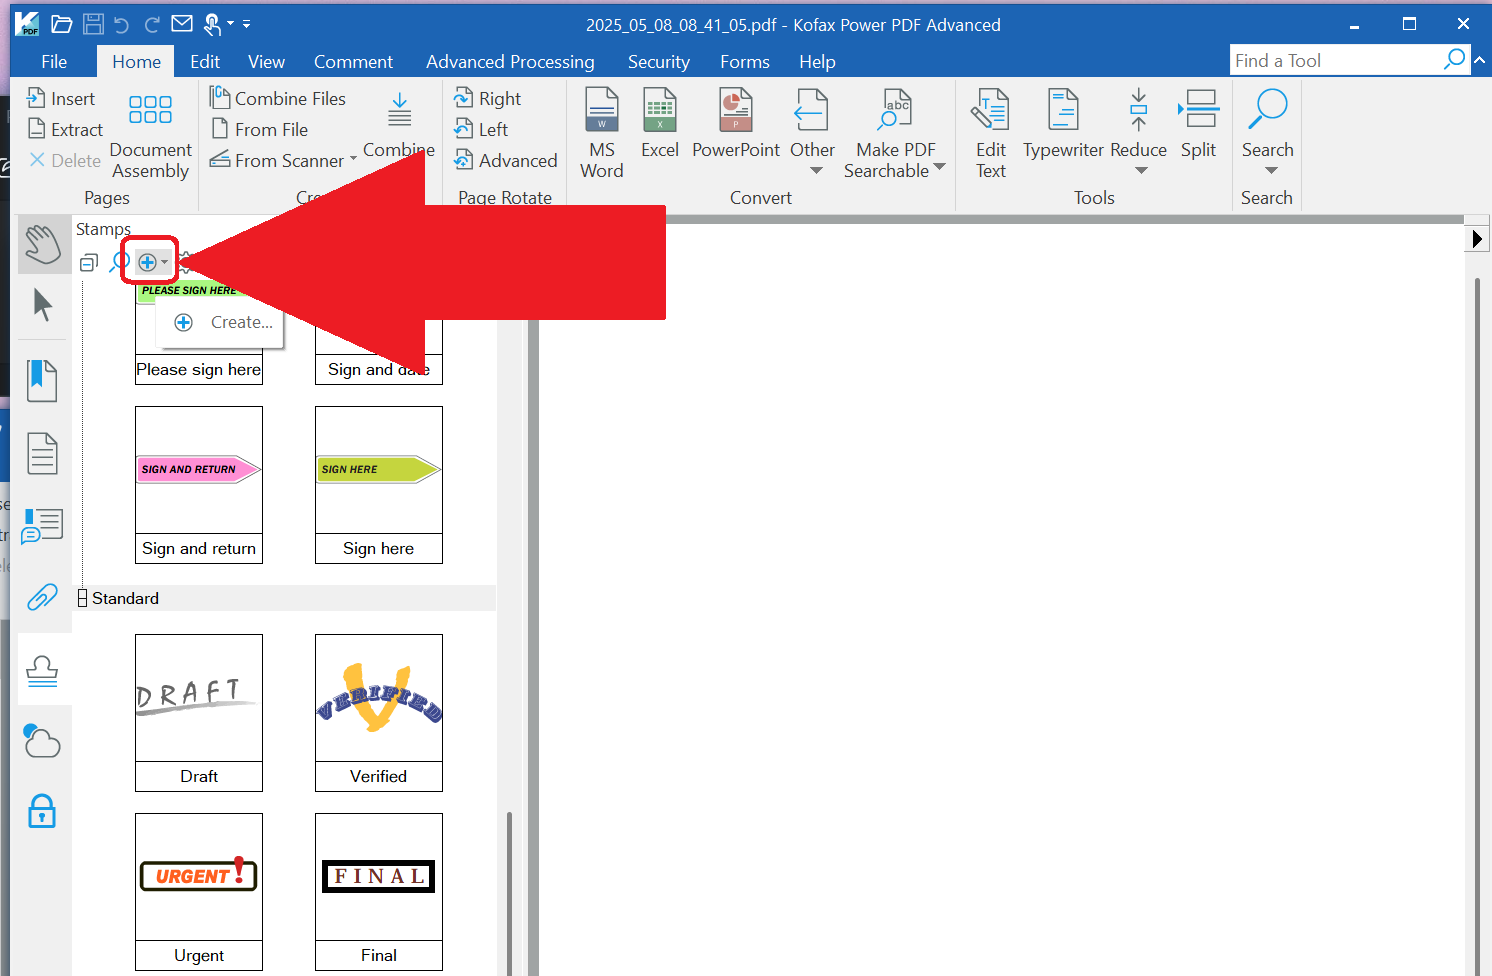
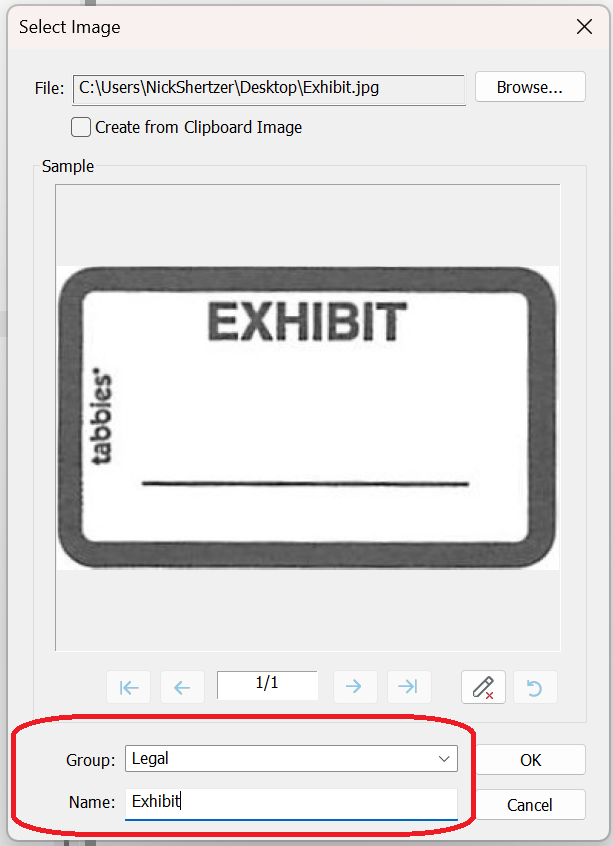
5. Click Browse. Navigate to the folder where “Exhibit.jpg” was downloaded in step 1. Change the file type to “JPG” (or All Files). Select “Exhibit.jpg” and click Open.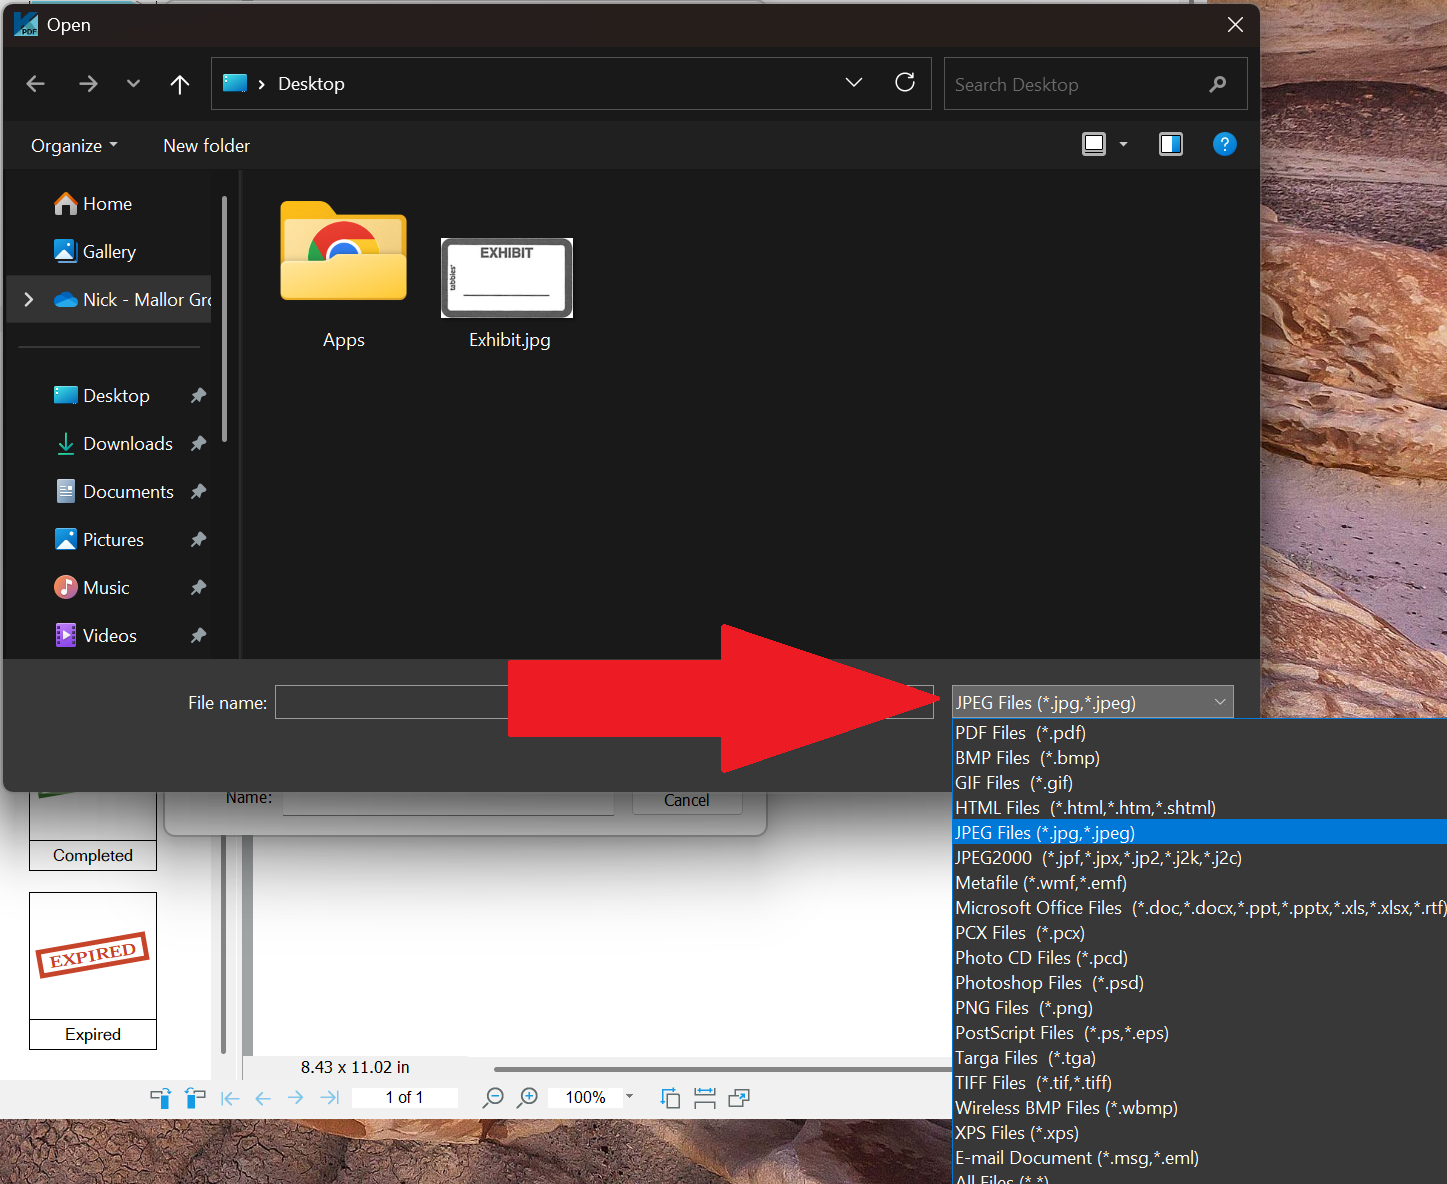
6. Choose the option for Group = Legal in the dropdown and give the stamp a name by typing in “Exhibit”. Click OK.
7. Drag and Drop the new Exhibit stamp anywhere on your PDF.
8. In order to TYPE into the stamp area, you must “Flatten” your PDF file. Choose the “Advanced Processing” tab at the top and “Flatten File”. Accept defaults and click OK.

9. Now you may use the Typerwriter from the Home tab to type directly over the stamp.
Video instructions: