
We can use the shape tool to redact lines in Adobe Acrobat Standard. However, this normally leaves meta data that can be used to simply remove the drawing / comment markup box. We can work around that by re-saving the redacted file as a “Flat PDF” using the built in Microsoft Print to PDF.
Adobe advertises Acrobat Pro as being the only solution to redact documents. Here is how we can effectively do the same with the Standard version of Acrobat. The trick is to use the built in comment tools and then flatten the PDF to remove layer comments.
To begin, open your PDF file in Acrobat Standard. I am using version X, but the process is the same for XI, XII, and DC.
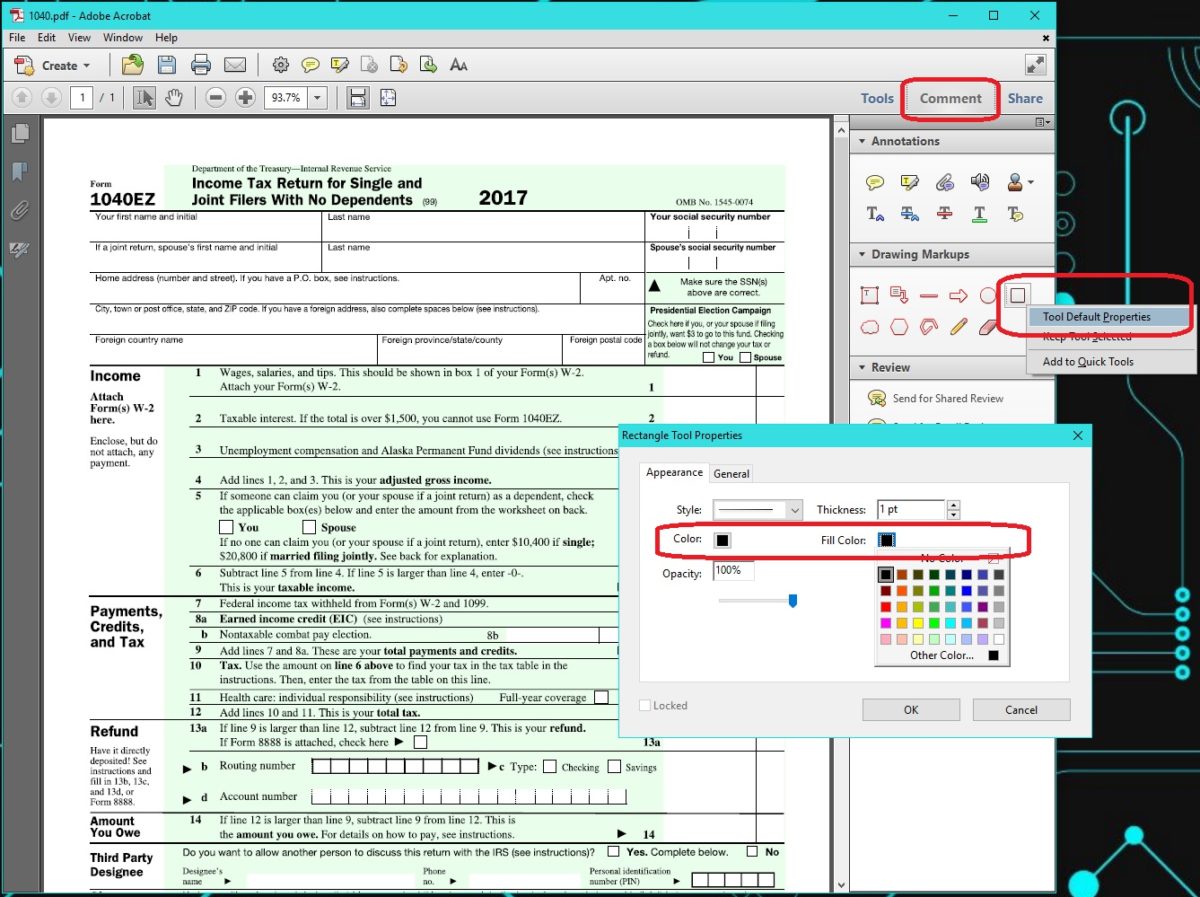
Open the Comment tab and find the Rectangle tool in Drawing Markups. Right click the Rectangle tool and choose “Tool Default Properties”. This allows us to change the line Color and Fill Color to BLACK.
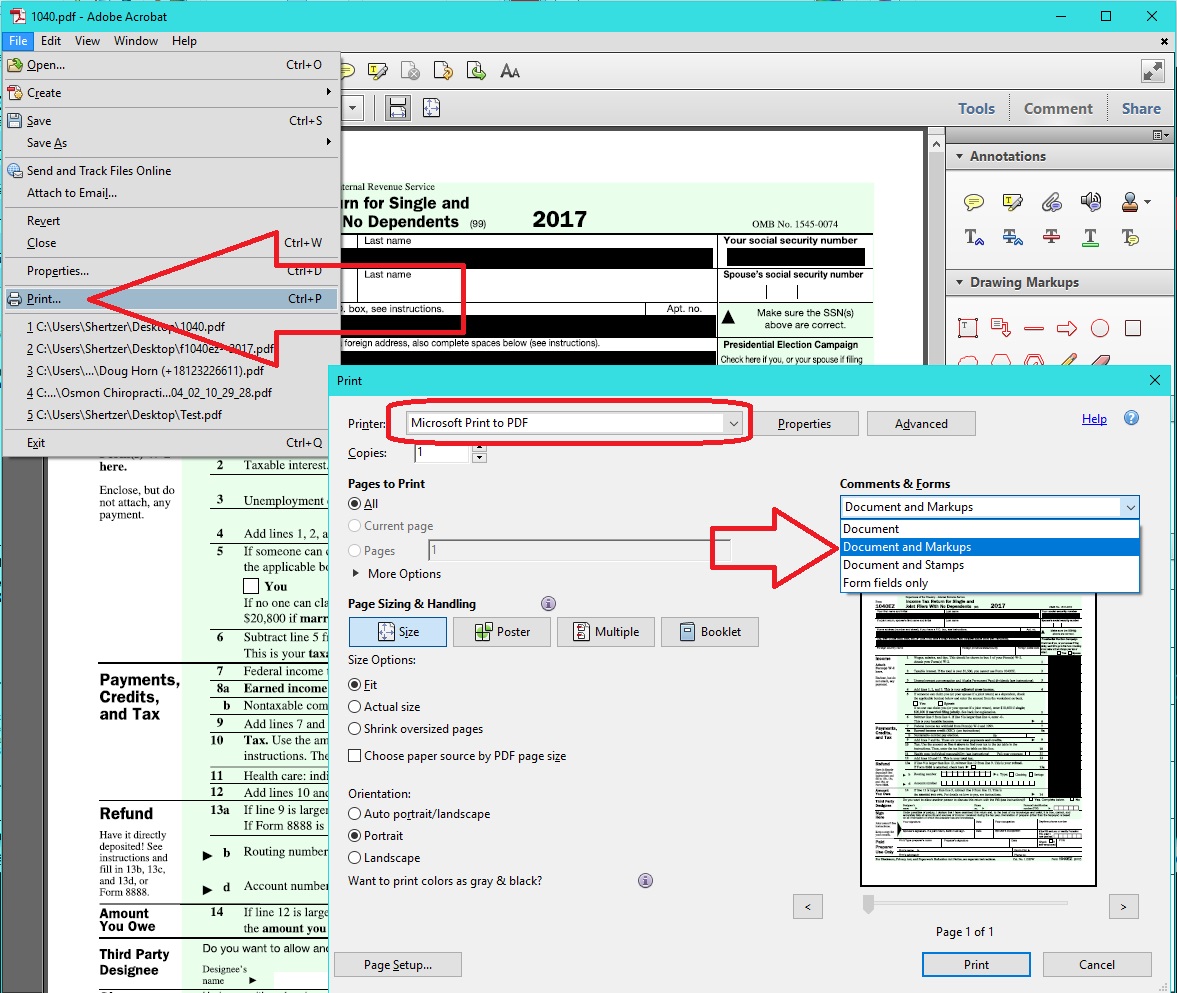
Do NOT SAVE or SAVE AS!! It is very important to FILE > PRINT as this flattens the PDF file, removing meta data and comment layers.
Choose “Microsoft Print to PDF” as the printer. Also, change Comments and Forms dropdown to select “Document and Markups”.
!!!!CHOOSE ADVANCED PRINT SETUP > PRINT AS IMAGE !!!! Otherwise, Adobe keeps the OCR text in tact and the “hidden” text below a black bar box can be highlighted & copied.
Hit PRINT and a File Save box will appear. Choose an appropriate folder and name your redacted and flattened PDF.
20180418 REDACTED Original File Name.pdf
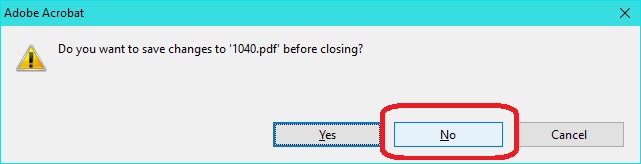
NOTE: This will NOT open the flattened PDF in Adobe Automatically. We will still be in the original file. At this point, close Adobe and select NO to saving changes. This will keep the original PDF intact.
Now when we look in the working folder, we will see two files.
20180418 Original File Name.pdf
20180418 REDACTED File Name.pdf